Friday, November 6, 2015

Moda's Sampler Block Shuffle Week 2


I hope you are enjoying making these blocks as much as I am!  I am beyond proud of the fact that I've been able to make 2 blocks of each of the patterns so far.  I hope I can keep going at this pace!


Here are all of my blocks so far!!!

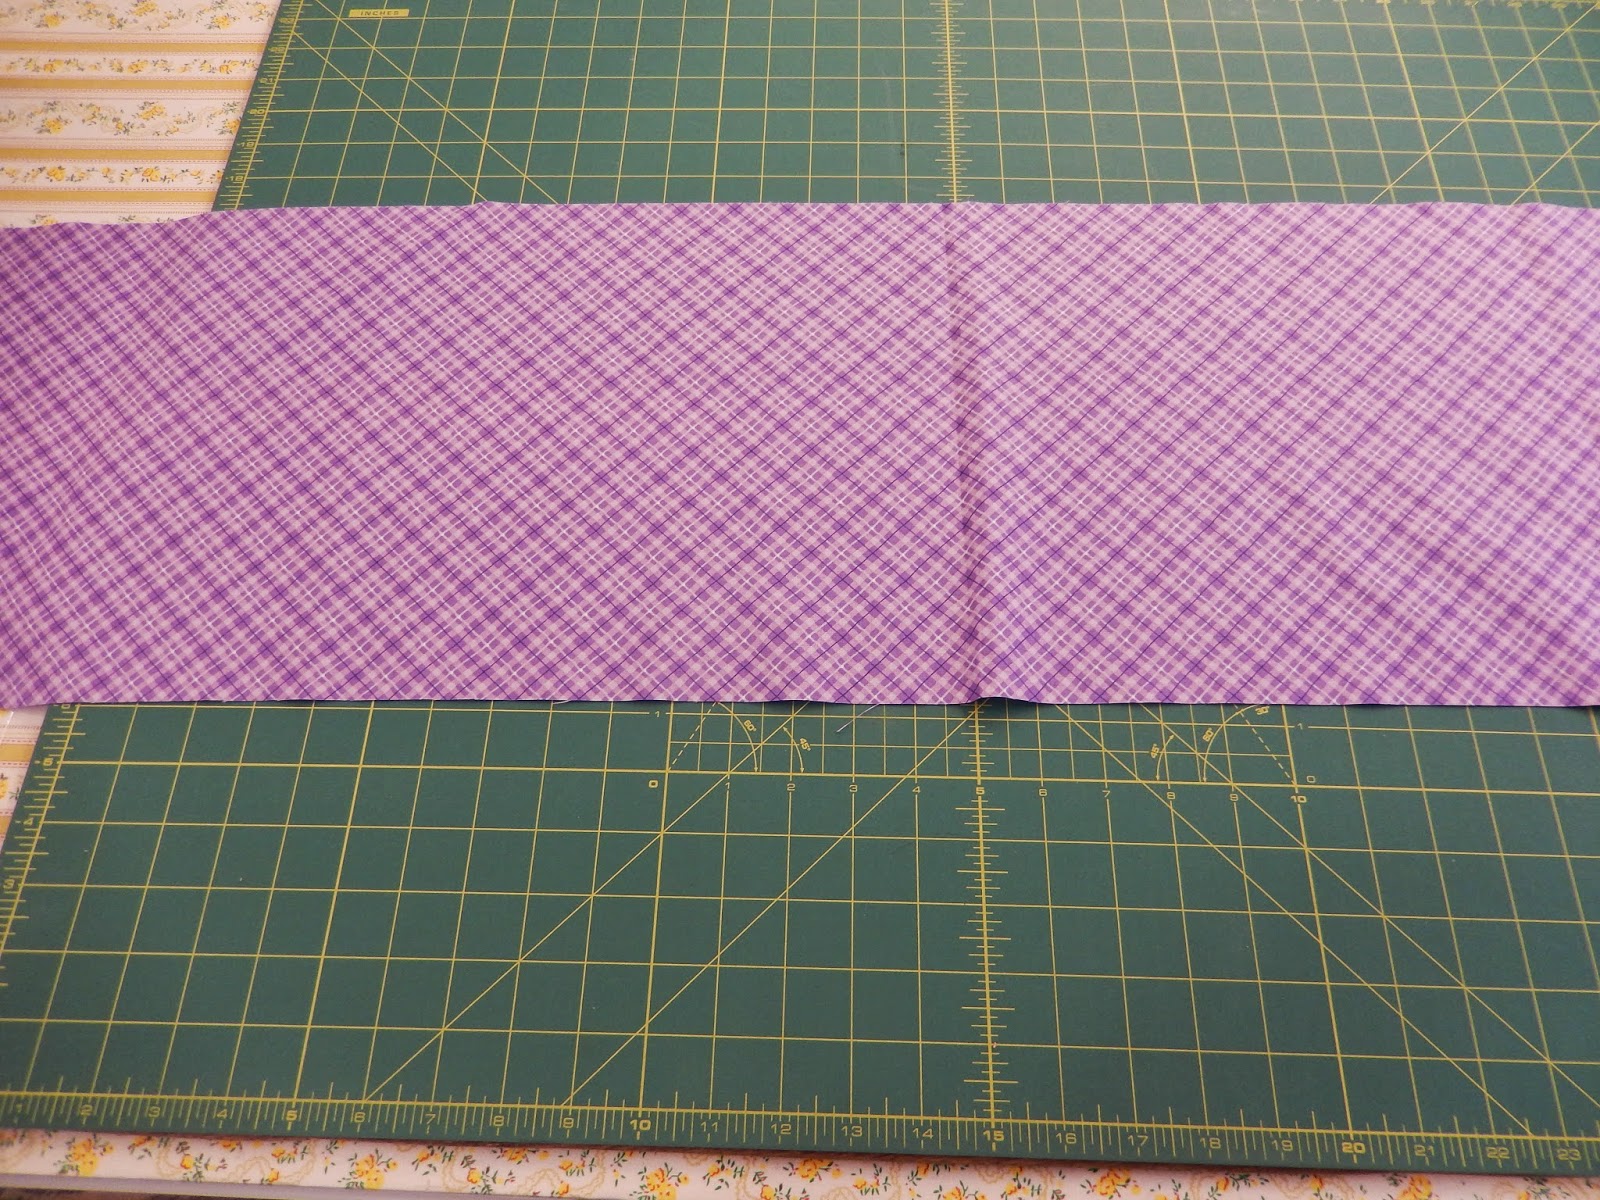
This weeks blocks were designed by Moda's designers V and Co, Kathy Schmitz Studios and American Jane.  All three of these blocks are pretty easy to make and I was introduced to a different way of making half square triangles.  Sampler Block Shuffle was designed to be make out of Jelly Rolls, Layer Cakes, Fat Quarter Bundles or Fat Eighth Bundles.  I am making mine out of a Layer Cake and a Jelly Roll.  If you are using a Jelly Roll to make your 2 1/2" half square triangles (hst) you will cut 2 - 2 1/2" squares (1 focus fabric & 1 background) for each hst, draw a diagonal line, stitch right on the line and then cut off the excess from one side of the sewn line.  When you presss, make certain you set your seams first, you are working with the bias and bias stretches!  I have inserted a short video clip to show you how to make these out of 2 1/2" strips in this weeks video.


Sampler Block Shuffle Week 2

I realize that picking a favorite block is similar to picking a favorite child but I have to be honest, I am in love with the block designed by American Jane this week, I've always had a soft spot for Start! 

 I can not believe how much I've already learned about color value by working on these blocks and by placing the background color in different places (one of the benefits of doing two blocks for each pattern).  Last week when I picked out my colors for the block designed by Me and My Sister Design I was at first really happy with them but once I put the blocks together I realized the blue and the brown I had used were so similar in value that you really don't notice the overall pattern design.

 Notice the difference between the block in the lower left corner versus the upper right corner?  These are made from the same patter, just different color placement.  I'm not going to take this block apart and redo it, I'm going to put it in my quilt and it will be one of my learning blocks :)!

Next Friday will be blocks 7, 8 & 9 and I will also be showing you how to make Flying Geese!  I would love to see what your blocks look like!  You can show off your blocks by tagging me on Instagram @MissMarkersQuilts, Facebook @ Miss Marker's Quilts or email me your pictures @ Margaret@missmarkersquilts.com!

Happy Quilting!

Friday, April 24, 2015

Hand Sewn Binding

Yesterday I worked on hand sewing some binding on a quilt.  Hand sewing binding down is one of those things that I really do enjoy doing.  I know some people don't enjoy it because it takes so long but honestly I do, I enjoy the pace of it and how very relaxing it is because it isn't one of those things that you are expected to be able to do quickly.  Hand sewing binding down (especially on a big quilts) requires you to sit back for a few minutes and slowly work away at it.

Often I hand stitching my bindings while watching TV in the evening or while listening to a good book.  I hope my tutorial is informative and that you also enjoy hand stitching binding.


Thanks so much & Happy Quilting!!

Margaret

Thursday, April 2, 2015

Studio Update!

The process of building my new studio is happening very quickly!  We have been amazed at how quick and efficient these guys are!  Tuesday morning at 7:25 AM two trucks pulled up and within a few minutes a third truck arrived and all of a sudden our driveway was filled with workers, lumber and trucks!

One of the two supply trucks (the trusses were delivered a few days ago).


The 'Bobcat' had a little issue getting some of the supplies off but did finally manage to get the forks under it.

With a little help from the project forman :).


Below is my husband talking with the Forman and Brian from Santelli Lumber.  You can see in the background the holes were already being dug.


By 8:00 AM our driveway was full and the site was squared up with string and there were blue marks on the pad for the holes to be dug!  We hadn't even walked back in the house from taking the above picture and we were being asked when the building inspector was coming to inspect the holes!  All I could think was 'holes, you just got here'!  But sure enough they were just about ready for the building inspector.  
By 8:30 all holes had been dug and they were being filled with cement, some type of a cement block and posts.

I don't do well with heights so these pictures left me a little weak in the knees!


See my stairs?  Access to the second floor storage!  YEA!

My porch is starting to take shape!
 I called my sister as the first truss went up and before I knew it the second truss was up!

Within 30 minutes 56' of trusses were up and they were starting to put the remainder of the roof up.


See that larger gap between the trusses?  That's for my stairs!!

A better picture.  (I know I went a little photo crazy!)
At the end of day 1 we have a 24' x 56' building with a roof and the windows and doors framed in!


We've got a lot more to do before we can sit on my patio and have a cup of coffee and enjoy some hand stitching but my dream studio is starting to come to life!


My last picture on day 1, everyone's gone home, time to cook dinner and put another quilt on the long arm!  The builders will be back on Thursday so stay tuned!  (I promise to be back with quilting stuff in a few days!)


Happy Quilting Everyone!


Tuesday, March 10, 2015

Layer Cake Love

I had fun in my sewing room last weekend in between quilting quilts I got to design and make my own quilt!  It only took me 3 hours from start to finish, just enough time to get my 'sewing fix' but not so much time that it thew me off schedule.


Check out my YouTube Video for complete instructions on how to make this adorable quilt!

Happy Quilting!

Wednesday, March 4, 2015

Pincushion

Anyone besides me need a new Pincushion?  I recently realized that I was using my couch arm as a pincushion!  I figured it was time to make a real pincushion so here's what I did.


I started with a 11" square piece of fabric.  Then I turned over all four edges 1/2" and gave it a good press.


I brought all four corners into the middle to form another square.


(I missed a photo :() the next thing I did was took a piece of fabric that was 4 7/8 square of fabric and inserted it and then brought the four corners to the center again.  The next step is to stitch the four corners down, hopefully you can see my top stitching!


Here's a picture of the fabric on the inside :).


If you are going to put the same color fabric on each triangle you'll need a 5" square.  Take a 5" square of fabric and cut it on the diagonal in both directions.


Here's the placement of your four triangles.


Yes, that's a lot of pins in a small area.  Fold over the edges of your triangles and pin them so that it makes it easier to top stitch them down.


All top stitched!
Time for backing!


Your backing should be at least 6" x 12", fold it in half and press it.


(My backing was a little larger than 6" x 12"), put right sides together and pin.


When sewing this together I used a 1/4" seam and left an opening to turn it right side out.


Once you have sewn 1/4" seam trim your extra fabric off and clip all four corners.


Here's the pincushion!  Next step is to fill it with crushed walnuts, sew the seam up and put a button on and you've got yourself a new pincushion!!

If you would like to see the video tutorial you can find it here:


Happy Quilting!!


Friday, February 27, 2015

Are All Battings Created Equal

I belong to a group on Facebook of quilters, I'm actually one of the browsers, by that I mean I don't often (if ever) say anything but I am there and do read the posts.  Recently I've seen a lot of posts about batting and they are actually starting to drive me a little batty!

So lets talk about batting.  Batting is the material that goes between your backing and your quilt top.  It is there to add warmth to your quilt.  There are many different types of batting from all polyester (offers no additional warmth) to all cotton (is a natural fiber and does add warmth) and wool (the absolute warmest, lightest and nicest batting available in my opinion).

I recently had an opportunity to take some pictures of quilt batting to show why I stay away from 'big box' stores batting.


One of the things that you want out of your batting is an even distribution of the material.


See the 'shadow' on the lower right part of the above picture?  That is the black backing showing through the batting.


If you look at the upper left portion of this picture, you can see that the batting is much thicker than it is on the right side of this shot.


The above picture really shows the uneven distribution of the batting.

When a quilt using this batting gets washed what is going to happen is the quilt is going to be inconsistent in how it looks because the batting material is so inconsistent and the warmth offered will also be inconsistent.

The batting brands that I have found to be consistent and nice to work with are as follows (from my least favorite to my favorite):

Warm & Natural
Warm & White
Quilter's Dream Select
Quilter's Dream Wool


Warm & Natural & Warm & White are available at JoAnn's, Quilter's Dream is available at Quilt shops or from your Local Long Armer.


Happy Quilting!

Tuesday, February 24, 2015

Petit Fours by Hummingbird Highway

Hi Everyone!


I had a chance to do a little sewing of my own this past weekend and I decided that Joan Ford's pattern 'Petit Fours' would work out great!  The pattern calls for a Layer Cake, a Jelly Roll and then a small amount for the binding and inner border.


I used a Jo Morton line of fabric for the 10" Squares and a Moda solid Jelly Roll to go along with it.  I am THRILLED with how it looks!


The pattern was not difficult at all but I did make a cutting mistake along the way.  I've read both of Joan's books (Cut The Scraps & Scraps Plus One) and LOVED both of the books.  I found them VERY easy to read and are both filled with fantastic hints. 


These colors are not my normal colors by any means but this quilt already has someone's name on it for Christmas!  Yes, one Christmas present done with the exception of the label!!!


I thought you might enjoy a peek at the back.  


Happy Quilting!


Sunday, January 25, 2015

Pillowcases Quick & Easy

I spent a little time in my sewing room today! YEA!!  I had made a quilt for a baby shower but wanted to be able to deliver it in a pillowcase so today was the day to get the pillowcase done.  I love making these, they are so quick and easy!  Here’s what you need to make a single pillowcase:

Pillowcase Fabric Requirements
(Makes 1 pillowcase)
1/8 yard for piping
1/3 yard for band
7/8 yard for pillowcase body

Cutting Requirements

1 – 2” x 41” (I used a 2 ½” by width of fabric)
1 – 11” x 41” (I cut mine by WOF and then just cut off the excess)
1 – 26” x 41” (WOF)

Or you can go to AllPeopleQuilt.com and visit the 1 Million Pillowcase Challenge.  They’ve got a bunch of free patterns on there to make a pillowcase, I used pattern #15.  I also did not follow their sewing instructions.  Here’s how I made them:


Cut your pieces of fabric to the correct size.  I left all of my pieces the width of the fabric and just cut the length down to the size I needed.  I also had some 2 ½” strips left from the quilt so instead of cutting that strip down or cutting a new one I used the 2 ½” strip.  You can use all the same fabrics or you can switch them up, the choice is yours!


Once you’ve got all three pieces of your fabric cut take the 2 ½” strip and fold it in half wrong side together and press it. 


Next take your piece of fabric that is 11” x WOF and lay that face up on your table.


Next take your piece of fabric that is 26” x WOF and lay that face up on top of the 11” piece lining up the raw edges.


Your final piece of fabric to place on top is your 2 ½” strip that has been folded in half (remember wrong sides together just like you are making binding) and place that on top of all the pieces.   You may want to put some pins in to hold all of these pieces together.


Pick up the bottom of your 26” piece of fabric and roll it into itself.  Keep rolling it until you get almost all the way to the piping strip.  Once you’ve rolled the 26” piece you can easily see your band piece of fabric.  


Pick up the raw edge (at the bottom) and fold it up to meet the top of your piping strip and pin.

Now take it to the sewing machine and sew a ¼” seam.  So easy!


You’ve now got a tube that looks like this!


Reach into the sewn tube and start pulling the fabric out, you’ve got a piece of fabric that has an attached band and piping but NO raw seams!!!


Time to press!  This may be a step that you just don’t think is important but if you don’t press you run the risk of your seams not matching or of your fabric having a twist in it so take just a few minutes and press.

Next step (and one I always have to double check myself on) fold your pillowcase in half, WRONG sides together.  Yes, wrong, not right sides together. If you haven’t trimmed your selvage now’s the time to do it, just double check and make certain that you haven’t left a selvage before your proceed.  Pin and sew down one side and across the bottom with a ¼” seam.


Turn pillowcase wrong sides out, press and now sew ½” seam down one side and across the bottom!


Turn pillowcase right side out and press one last time and it’s done!


Fast and easy for sure!  Next time you purchase fabric, a jelly roll or a layer cake for a quilt don’t forget to grab a little extra fabric to make a pillowcase!

Happy Quilting!