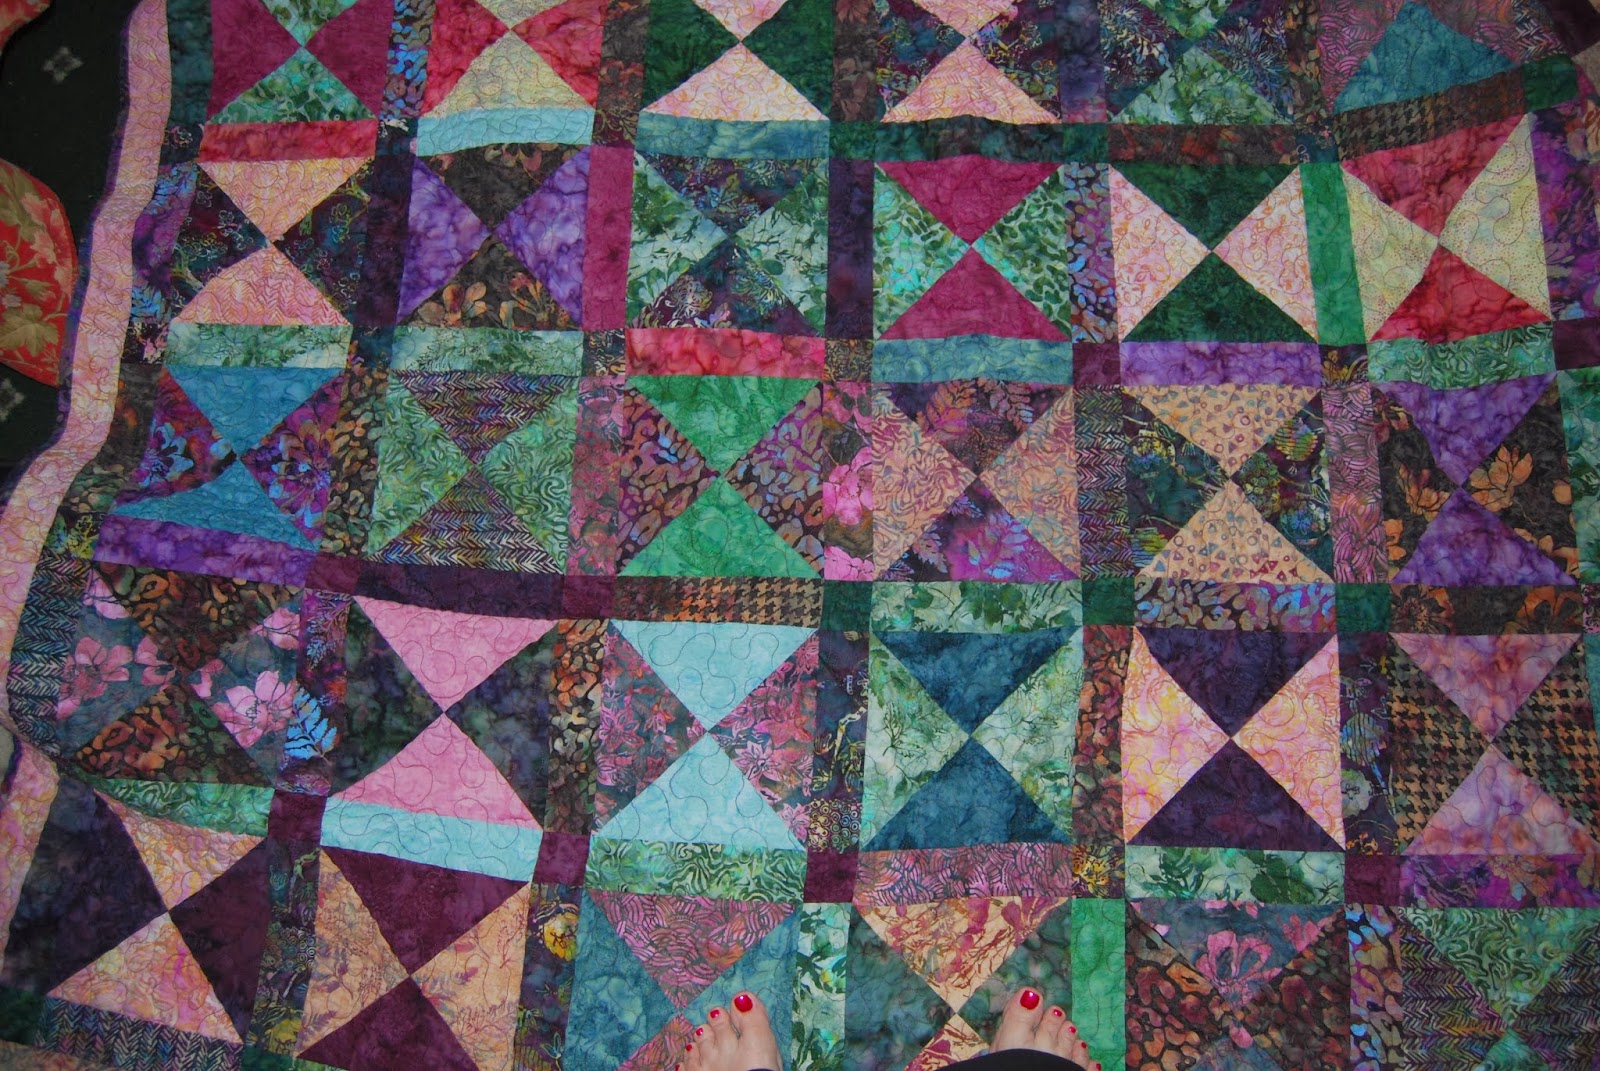
I had fun in my sewing room last weekend in between quilting quilts I got to design and make my own quilt! It only took me 3 hours from start to finish, just enough time to get my 'sewing fix' but not so much time that it thew me off schedule.
Check out my YouTube Video for complete instructions on how to make this adorable quilt!
I had a chance to do a little sewing of my own this past weekend and I decided that Joan Ford's pattern 'Petit Fours' would work out great! The pattern calls for a Layer Cake, a Jelly Roll and then a small amount for the binding and inner border.
I used a Jo Morton line of fabric for the 10" Squares and a Moda solid Jelly Roll to go along with it. I am THRILLED with how it looks!
The pattern was not difficult at all but I did make a cutting mistake along the way. I've read both of Joan's books (Cut The Scraps & Scraps Plus One) and LOVED both of the books. I found them VERY easy to read and are both filled with fantastic hints.
These colors are not my normal colors by any means but this quilt already has someone's name on it for Christmas! Yes, one Christmas present done with the exception of the label!!!
I've had a couple of requests on my YouTube channel to show the quilt I made when demonstrating how to make Perfect Points and how to Bind A Quilt.
This quilt was designed by Pam & Nicky Lintott and is in their book titled Layer Cake, Jelly Roll and Charm Quilts. The name of this pattern is Old Gold and is made from 1 Layer Cake and 1 Jelly Roll and finished at approximately 72 x 80. This book is filled with 18 different quilt patterns that are all made from Layer Cakes, Jelly Rolls and Charm Squares. At this point I've only made this one quilt but there are a few others in this book that I'd LOVE to make! The directions are easy to understand and this book is a great book for beginners!
You can see my Perfect Point Video here.
You can see my How to Bind a Quilt Video Part 1 here and Part 2 here.
You can see my How to Attach Borders Video here.
If you would like information on where this book is available for purchase please email me at missmarker@rochester.rr.com.
Getting points to match on the Hour Glass Block can sometimes be very difficult. Here are step by step directions on how to get your "Points" to perfectly line up!
The Hour Glass Block looks the best when it is made with two contrasting fabrics. In this tutorial the block is being made from two 10" square pieces of fabric, when finished you will have two 9" blocks. Place these blocks with the rights sides together.
I use Pilot's Frixion pen to mark my blocks, Frixion's marks disappear when ironed. These pens are available at most quilt shops, if you have difficulty finding them please contact me. Draw a line diagonally from the top left to the bottom right of the block using a ruler. Once you have drawn your line, pin the two pieces of fabric and sew a "scant" quarter of an inch on both sides of the drawn line.
Once you have sewing a scant quarter seam on both sides of the drawn line using a ruler and a rotary cutter, cut the block in half using the drawn line as your cutting guide.
This step is really important! Take your two blocks to the ironing board and "set" your seams by pressing both blocks.
With your seams "set" now press your blocks open by pressing your seam to the darker side of your block.
Place your ironed blocks right sides together making certain that you seams are as close together as possible. Draw a line diagonally from the top left to the bottom right of the block using a ruler. Once you have drawn your line, pin the two pieces of fabric and sew a "scant" quarter of an inch on both sides of the drawn line.
Back to the ironing board and "set" your seams.
With your seams "set" now press your blocks open.
You will have two blocks! Your final step is to take these back to your cutting table and square them up!
The video tutorial of this is available on You Tube!
Stay tuned for a tutorial on how I quilt this block on my
Gammill Statler Stitcher Long Arm Quilting Maching!!
Have you ever wondered how to get perfect points when making
an hour glass block?I’m currently
working on a tutorial on how to easily accomplish this!! I hope to have it up
by Wednesday!
I finished the binding on this quilt today! I LOVE it when the quilt is completely done!! This quilt is one that I'm using as an example of the work that I do and I believe it is going to be used for a class this January, stay tuned for more information on the class.
This would be a perfect quilt for a college student or for a young girl's bedroom. The name of the pattern is "Old Gold" and is from Pam & Nicky Lintott's book Layer Cake, Jelly Roll and Charm Quilts.
This was such a quick and easy quilt to make, it took 1 Layer Cake and 1 Jelly Roll. The pattern didn't call for the wide border all around the quilt but I wanted one so I purchased an additional 2 1/2 yards of fabric for the border and the binding.
Here's a close up of the quilting:
Time to get working on the binding for the Whole Cloth Quilt and to get another customer's quilt on my Gammill Statler Longarm. The next one is a really pretty White, Tan and Black quilt with pieced blocks and applique!!