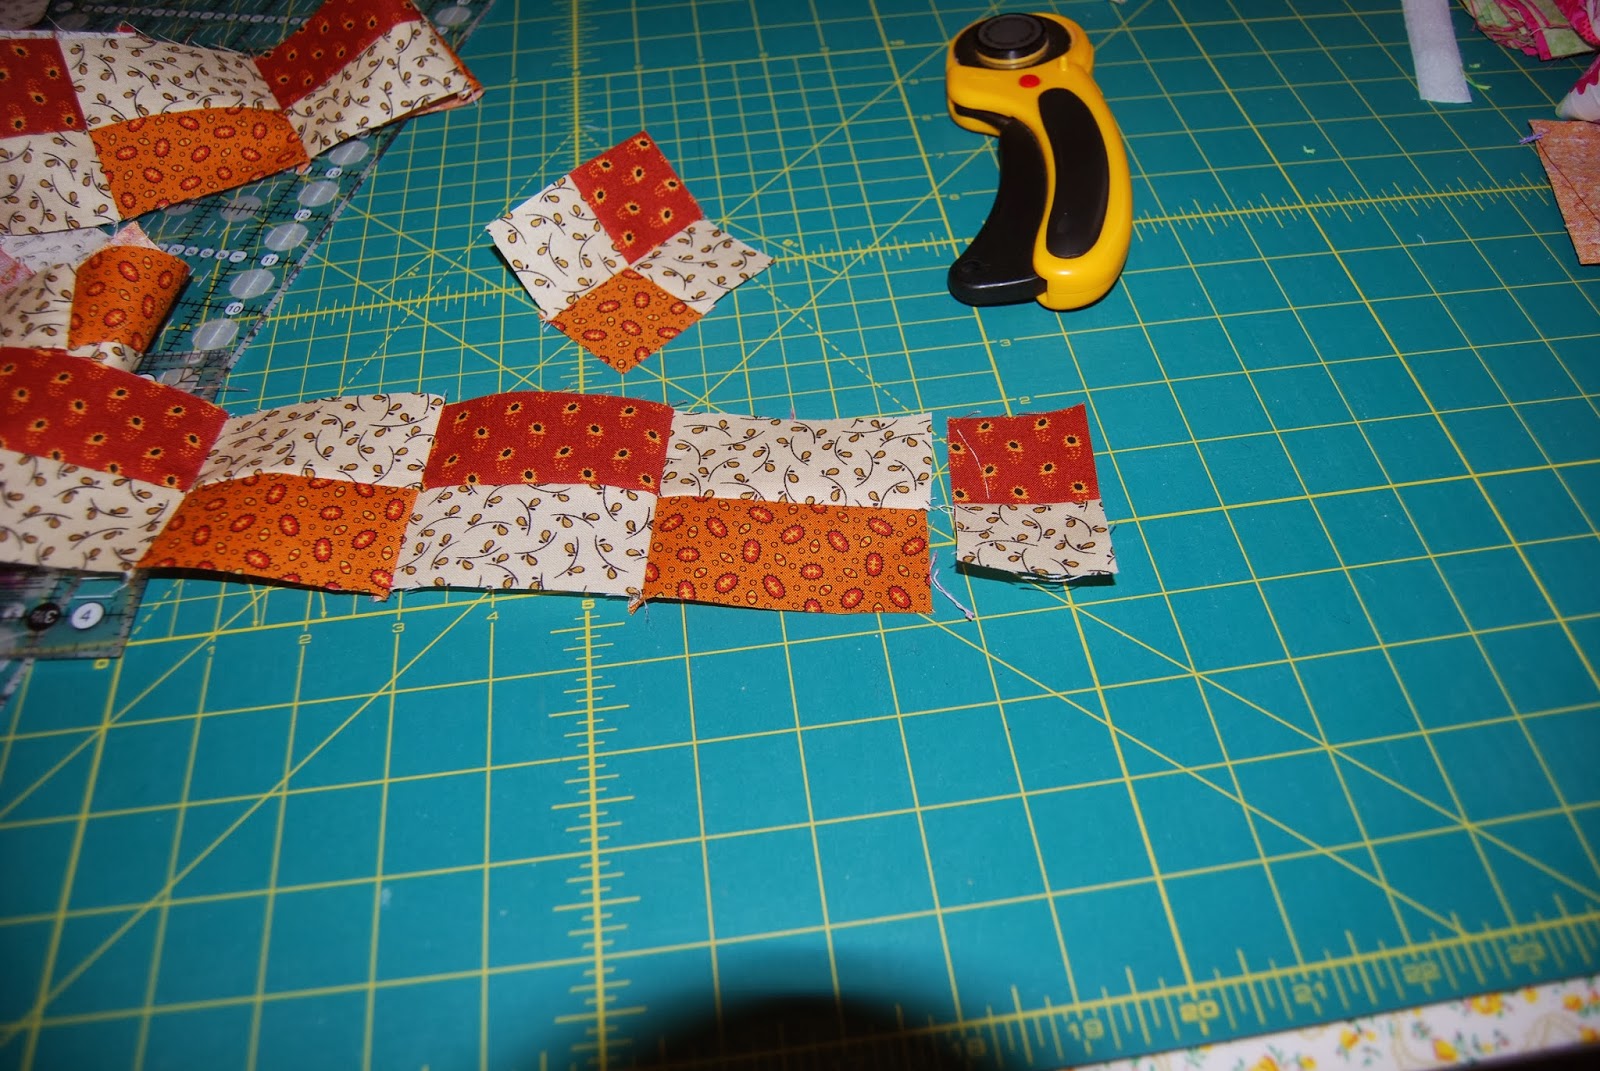
Time to start sewing!
I like to lay everything out that I’m
sewing so that I can make certain I’m sewing it together correctly.
First step
was to sew the triangles on each side of the square. Once they are sewn square up your triangle using
the corner of the square as your guide to give you a ¼” seam allowance at the
point.
Next
attach your triangle to create a 6 ½” square.
Set these aside.
Next we
are going to make 4 flying geese units.
I start by
laying my next block sections out.
Attach the
outer triangles trimming each section as you go giving a ¼” beyond your
intersecting points.
Once those are
attached attach your next triangle.
Don’t forget to clip
the ‘rabbit ears’ and trim your blocks.
Square this up again
by using the your ‘points’ to create your ¼”.
In the above photo I used where the black met the cream background
fabric and the straight lines on my ruler.
I also used the
points on my triangles as a second reference mark when squaring up each step.
Attach your next
triangle
Attaching more
triangles!
This squares up to 6
½” x 12 ½”.
Next step is to make
your center block. Again I start by laying
it out.
Make your flying
geese first and then sew your center row.
The flying geese were
3 ½” x 6 ½”, once attached to the center block they were 12 ½” x 6 ½”.
I forgot to take
pictures of the top & bottom rows!
Those rows square up to 3 ½” x 12 ½”.
Sew your three rows
together.
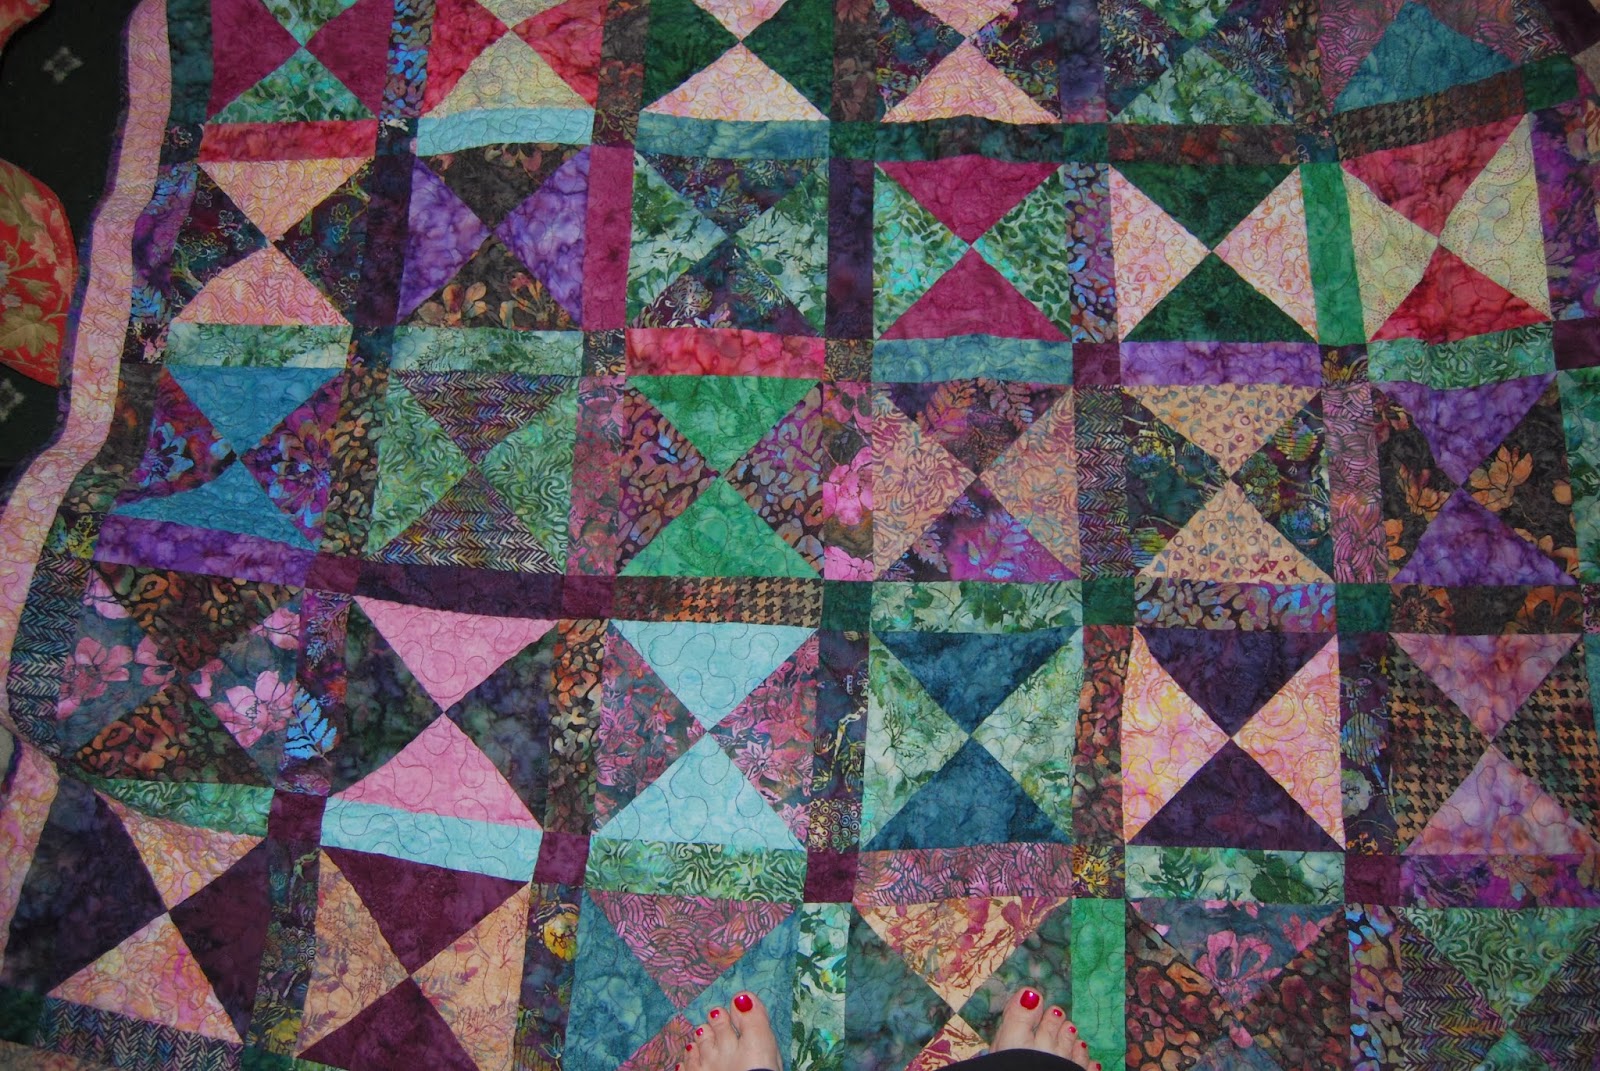
Your finished block
is 24 ½” and you are only making one!!!
Check out Miss
Marker’s Quilts at:
My most recent tutorials
at
www.youtube.com Miss Markers Quilts or
Margaret Leuwen
Happy Quilting!!