Showing posts with label sewing. Show all posts

Friday, April 24, 2015

Hand Sewn Binding

Yesterday I worked on hand sewing some binding on a quilt.  Hand sewing binding down is one of those things that I really do enjoy doing.  I know some people don't enjoy it because it takes so long but honestly I do, I enjoy the pace of it and how very relaxing it is because it isn't one of those things that you are expected to be able to do quickly.  Hand sewing binding down (especially on a big quilts) requires you to sit back for a few minutes and slowly work away at it.

Often I hand stitching my bindings while watching TV in the evening or while listening to a good book.  I hope my tutorial is informative and that you also enjoy hand stitching binding.


Thanks so much & Happy Quilting!!

Margaret

Tuesday, March 10, 2015

Layer Cake Love

I had fun in my sewing room last weekend in between quilting quilts I got to design and make my own quilt!  It only took me 3 hours from start to finish, just enough time to get my 'sewing fix' but not so much time that it thew me off schedule.


Check out my YouTube Video for complete instructions on how to make this adorable quilt!

Happy Quilting!

Sunday, January 25, 2015

Pillowcases Quick & Easy

I spent a little time in my sewing room today! YEA!!  I had made a quilt for a baby shower but wanted to be able to deliver it in a pillowcase so today was the day to get the pillowcase done.  I love making these, they are so quick and easy!  Here’s what you need to make a single pillowcase:

Pillowcase Fabric Requirements
(Makes 1 pillowcase)
1/8 yard for piping
1/3 yard for band
7/8 yard for pillowcase body

Cutting Requirements

1 – 2” x 41” (I used a 2 ½” by width of fabric)
1 – 11” x 41” (I cut mine by WOF and then just cut off the excess)
1 – 26” x 41” (WOF)

Or you can go to AllPeopleQuilt.com and visit the 1 Million Pillowcase Challenge.  They’ve got a bunch of free patterns on there to make a pillowcase, I used pattern #15.  I also did not follow their sewing instructions.  Here’s how I made them:


Cut your pieces of fabric to the correct size.  I left all of my pieces the width of the fabric and just cut the length down to the size I needed.  I also had some 2 ½” strips left from the quilt so instead of cutting that strip down or cutting a new one I used the 2 ½” strip.  You can use all the same fabrics or you can switch them up, the choice is yours!


Once you’ve got all three pieces of your fabric cut take the 2 ½” strip and fold it in half wrong side together and press it. 


Next take your piece of fabric that is 11” x WOF and lay that face up on your table.


Next take your piece of fabric that is 26” x WOF and lay that face up on top of the 11” piece lining up the raw edges.


Your final piece of fabric to place on top is your 2 ½” strip that has been folded in half (remember wrong sides together just like you are making binding) and place that on top of all the pieces.   You may want to put some pins in to hold all of these pieces together.


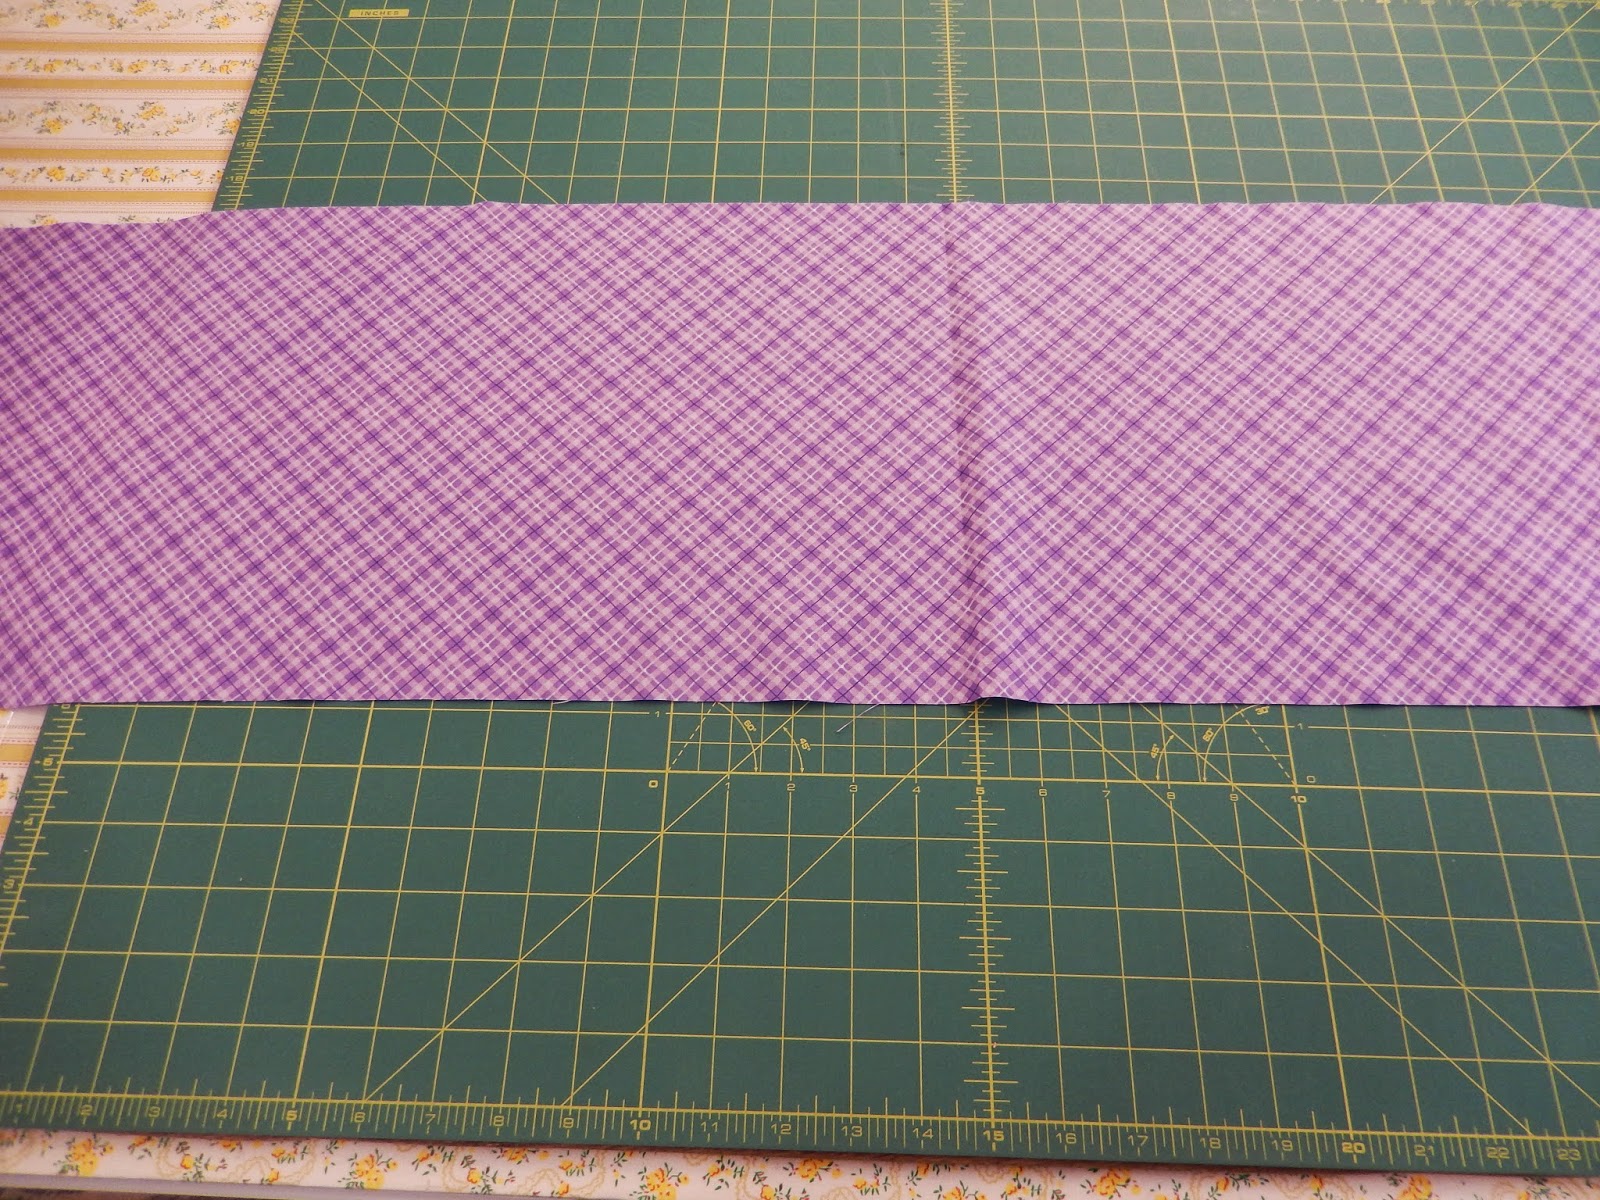
Pick up the bottom of your 26” piece of fabric and roll it into itself.  Keep rolling it until you get almost all the way to the piping strip.  Once you’ve rolled the 26” piece you can easily see your band piece of fabric.  


Pick up the raw edge (at the bottom) and fold it up to meet the top of your piping strip and pin.

Now take it to the sewing machine and sew a ¼” seam.  So easy!


You’ve now got a tube that looks like this!


Reach into the sewn tube and start pulling the fabric out, you’ve got a piece of fabric that has an attached band and piping but NO raw seams!!!


Time to press!  This may be a step that you just don’t think is important but if you don’t press you run the risk of your seams not matching or of your fabric having a twist in it so take just a few minutes and press.

Next step (and one I always have to double check myself on) fold your pillowcase in half, WRONG sides together.  Yes, wrong, not right sides together. If you haven’t trimmed your selvage now’s the time to do it, just double check and make certain that you haven’t left a selvage before your proceed.  Pin and sew down one side and across the bottom with a ¼” seam.


Turn pillowcase wrong sides out, press and now sew ½” seam down one side and across the bottom!


Turn pillowcase right side out and press one last time and it’s done!


Fast and easy for sure!  Next time you purchase fabric, a jelly roll or a layer cake for a quilt don’t forget to grab a little extra fabric to make a pillowcase!

Happy Quilting!

Tuesday, January 20, 2015

Embroidery Classes

Did you know that I teach an Embroidery Classes the 3rd Wednesday of every month?  I do and I love it!  Embroidery was something I learned as a pre-teen.  My sisters and I were taught by our next door neighbor, Mrs. Langworthy.  I remember a group of the neighbor girls getting together at her house and her teaching us.  We were taught the basics and to this day I can't believe how lucky we were to have someone will to spend an evening every week with a group of pre-teen girls and teach us all how to stitch.

I have 2 classes, the first one is from 1:00-4:00 PM and in this class we are working on the Home Sweet Home An Embroidered Workbox by Carolyn Pearce.


Isn't it just darling?  Wait until you get a look at the next picture!


Each piece is tiny and because they re all so small they are really 'doable' in a short amount of time.  Some of the stitches are ones we've already learned but some of them are completely new and we are having a lot of fun learning them.


This is a picture of the back of the box!  The box is 6 5/16" x 6 1/8" x 3 7/8" finished!

Our evening class goes from 6:00-9:00 PM and in this class we are doing something completely different!  We are doing the same stitches (for the most part) as we are in the afternoon class but instead of putting them on the notions for the box we have taken Crabapple Hill Studio's pattern 


Susan's Dresden Garden

and we are doing each of the embroidered 'blades' with the stitches we are learning!  Talk about fun!  The threads we are using for this are Silks, Embroidery Floss, Pearl Cotton & Wool!  

Here we are learning how to color on fabric with Crayola Crayons and to Embroider!


Aren't they just so cute!!  Follow my Blog and sign up for my newsletter at Miss Marker's Quilts and receive this FREE pattern from Crabapple Hill Designs!!


Join me on the 3rd Wednesday of the month for Embroidery Class!

Happy Quilting!


Friday, June 27, 2014

Erin Condren 2014 - 2015 Life Planner

Everyone seems to be talking lately about Erin Condren products so I wanted to find out what all the buz was about!  I was skeptical at first, figuring that one planner/calendar was like every other one on the market AND to add to that I had spent quite a bit of money in December on a new Franklin Covey planner.  Because I was so skeptical I decided to take it slow and easy and purchase something that no matter what would come in handy for me.


My very first Erin Condren purchase was this address book!  Love it!


Inside the cover is a place to write my contact information so if I ever misplace it hopefully someone will return it to me! 


The things I like most about this address book are:
1. The space to write names and addresses isn't to big or to small, it's just the perfect size!
2. There is a place to list both home and mobile phone numbers.
3.  Spacing for the email address is BIG!  this is important considering some email addresses can be pretty LONG! :)
4. I love the colorful pages, they are beautiful!


After the address section there are a few pages for notes.  These are unlined pages but I am certain they will come in handy at some point.


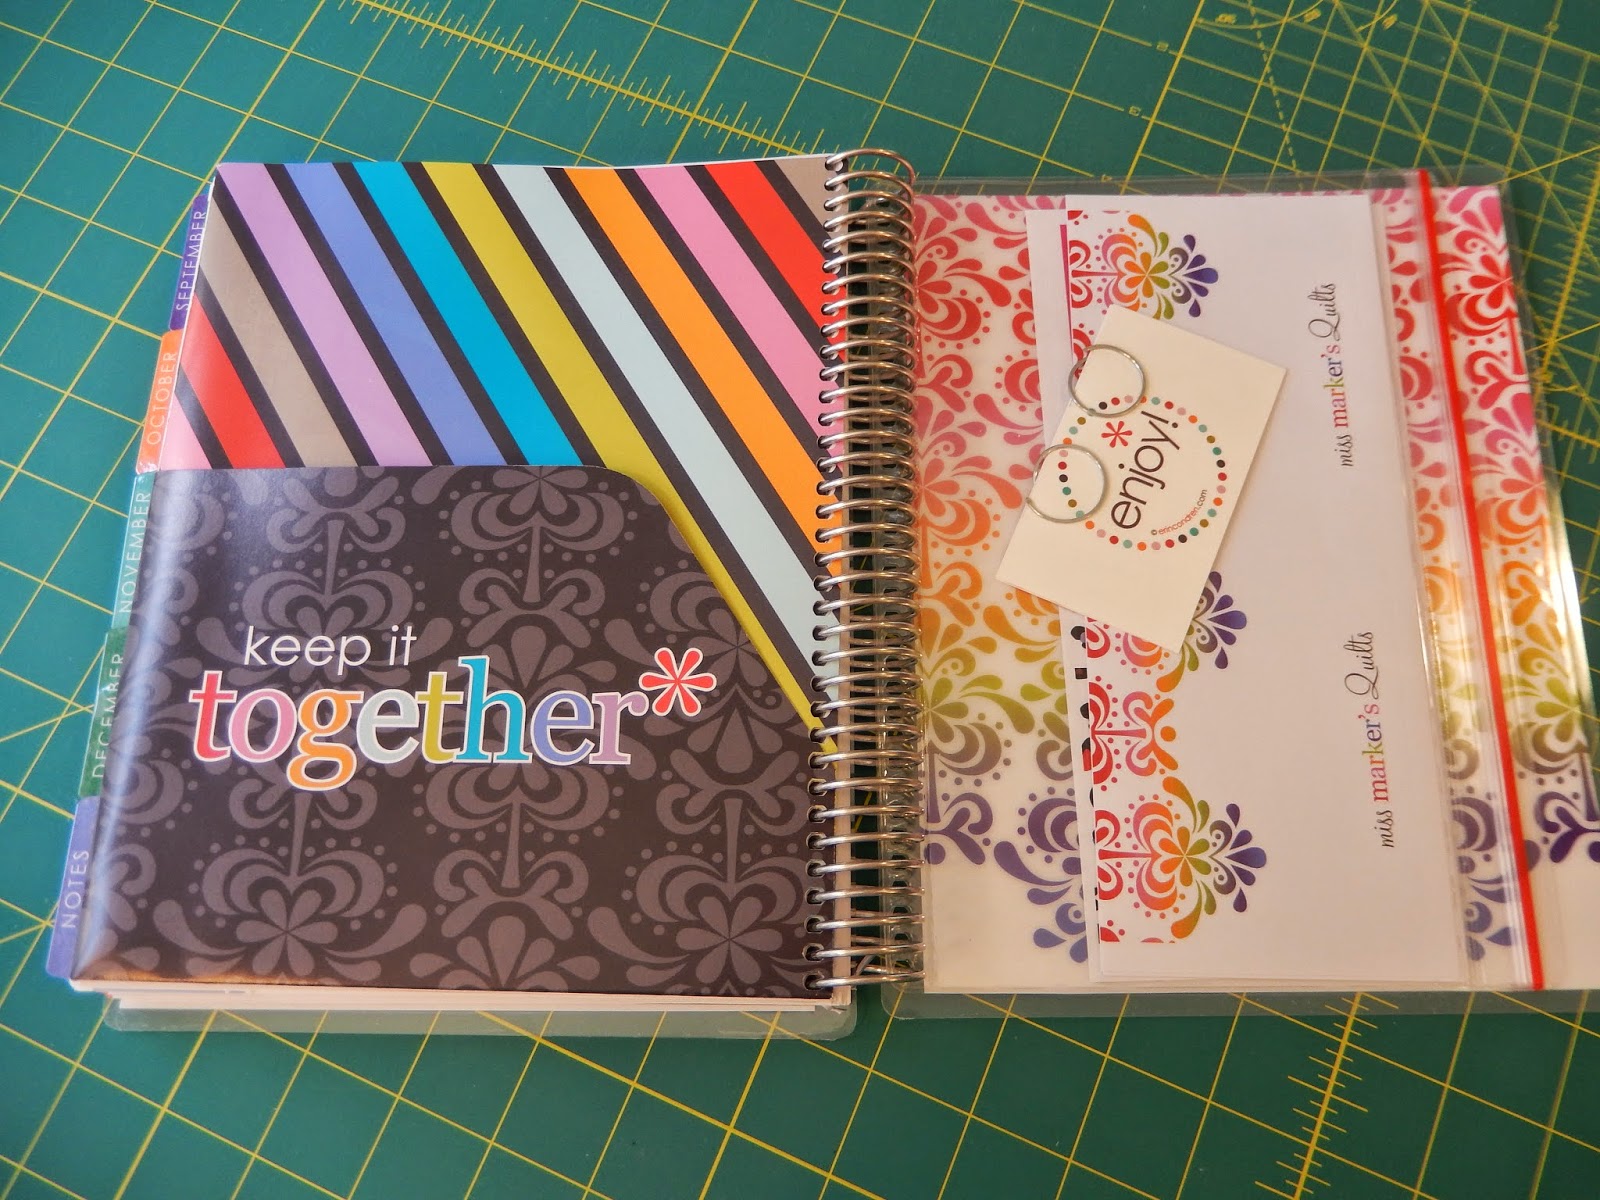
It also comes with 2 pocket folder and a plastic bag that will be perfect to sore other people's business cards until I get their information into the book.


 Last but not least is a page marker that is easily movable within the address book.  I did purchase a pen holder to put in my address book.

I love it!  It is working out exactly how I need it to work!!!


I liked the address book so much that I wanted to see what their calendars looked like so my next purchase was the Note Book.


I bought it in May and used it for the entire month and knew without a doubt I was sold on these products!  I had originally thought that I would use it to keep track of my Quilting/Long Arm Schedule but have since changed my mind.  The good news about my change of mind is now that the covers are removable I can just order a new cover for it. 


Here's a snap shot of the inside cover.


The calendar!  I believe it was for an additional $5.00 I could add a calendar to the notebook, it was totally worth it!


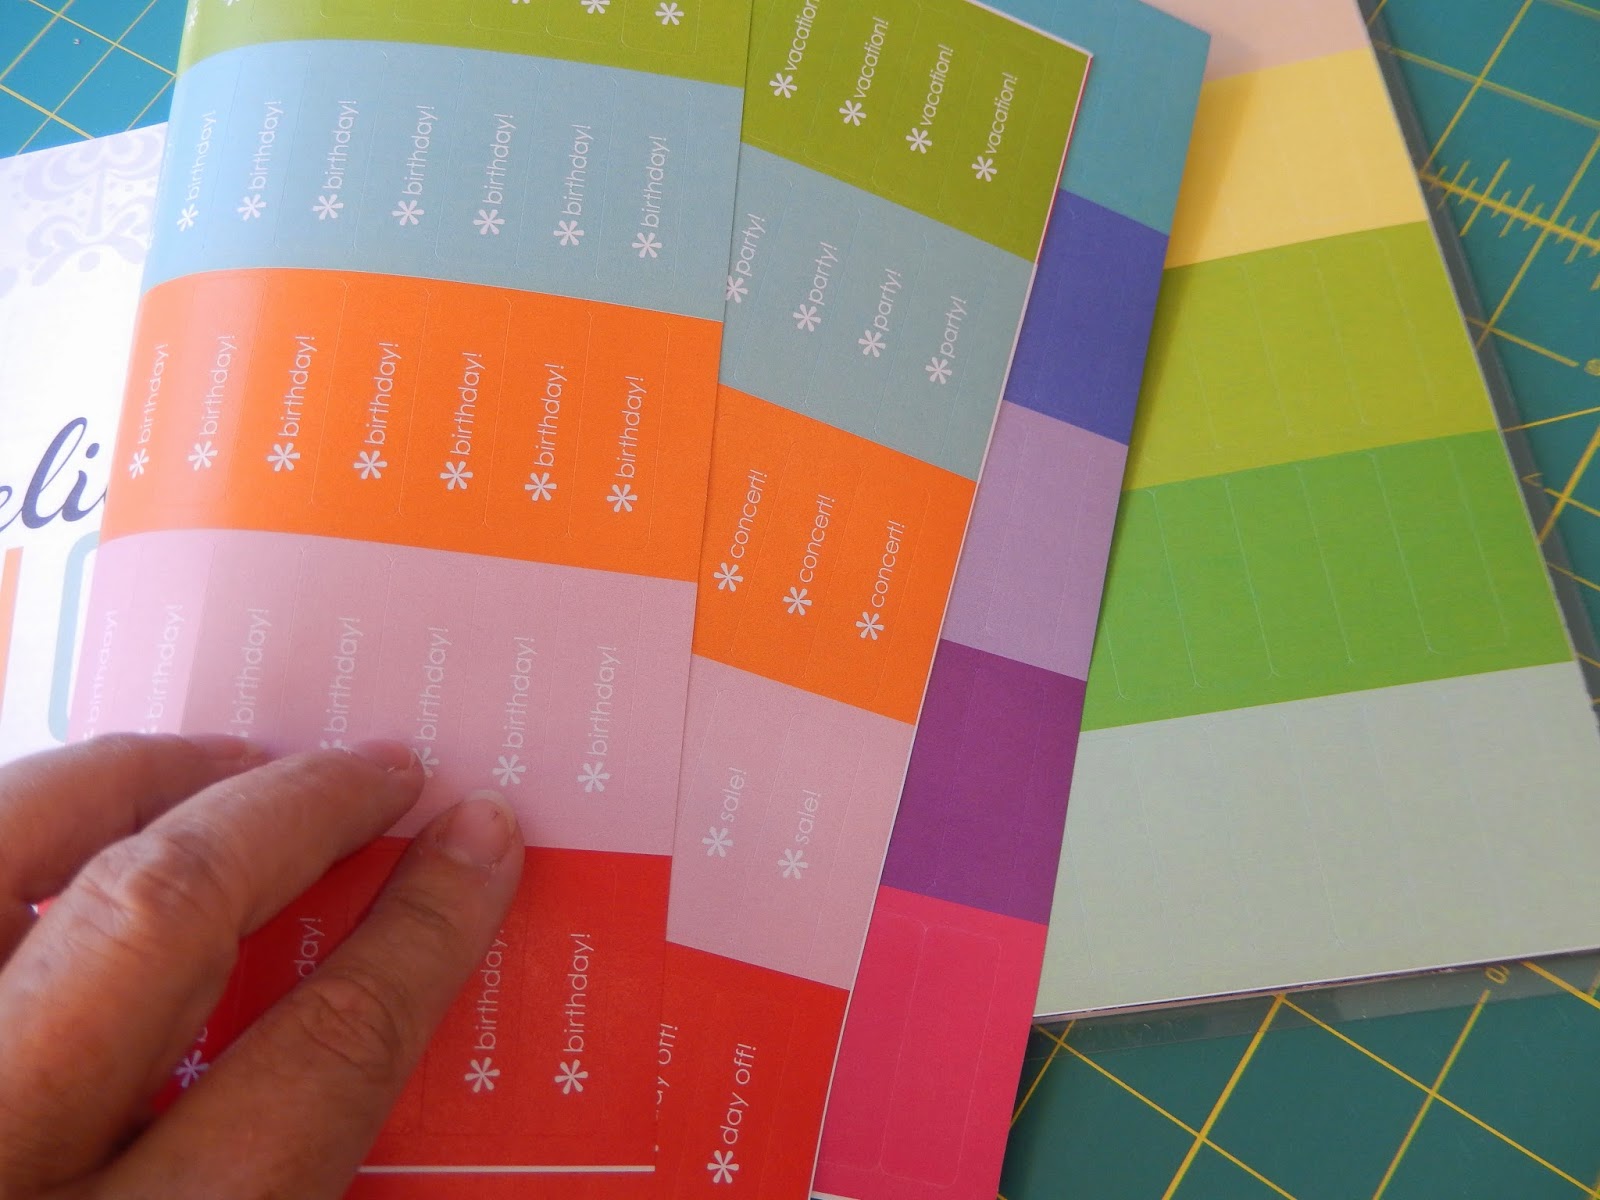
Great stickers behind the Calendar.  In fact I like some of them better than the ones that came with my Life Planner.  The stickers that have 'doc appt.' also have a space to write what time the appointment is at '@_______", same for hair appointments and dentist appointments!  I like this feature a lot and when I order more stickers I will for certain be adding these to my purchase.


The note book mostly has lined pieces of paper.  They again are the perfect size!  My hand writing isn't huge but it isn't tiny either.  These pages are just right, not to big, not to small!


There are a total of 17 pages that are set up like the above photo.  Perfect for drawing or doodling, which ever suits my mood for that day :). 


In the back you find the classic Erin Condren folder pockets and the zip lock pouch.  I believe I will order a new cover soon and it will simply state Miss Marker's Quilts, Notes on the cover.

All of the above leads directly to what I received in the mail yesterday!!!!  Yup!  I received my 18 month 2014 - 2015 Erin Condren Life Planner!!!!!


 This was my third (but not my last) purchase from Erin Condren.  There were a couple of minor issues with this purchase, one my mistake and one theirs.   I had wanted the cover to have Miss Marker's Quilts all capitalized, when I placed my order I was so excited to be getting it I didn't read carefully and so I didn't make a notation in the special instructions that I wanted all the words to be capitalized.  

The other thing that happened was I had ordered a set of elastic bands and did not receive them.  I'm certain they will send them.  I have contacted customer service and have heard nothing but good about them so there are no worries here.


I am seriously i love with how colorful this planner!


The monthly calendars are again the perfect size, the planner lays flat no matter how many pages are on one side.  There are the cutest little pictures on the holidays.  For Easter there is a little decorated Easter Egg.


The weekly pages are set up perfectly!  The spaces to write in are the perfect size, I like the fact that the day is split into thirds and the fact that on Sunday night I can write my goals for the week and then they are right in my face so that I can accomplish them.


Next comes lined pages for notes.


A 2016 & 2017!  (2014 & 2015 calendar is in the front.)


Great stickers that are now re-positionable!


2 pockets to hold my extra stickers and anything else I may need.


A zippered plastic pouch at the back, a perfect place to put receipts or anything else that I need safely tucked away.


The beautifully colored back!

I am (obviously) thrilled with my purchase!  I am going to order a new cover for my 'Take Note' book and will be using that for a Notebook when I am at conferences and will continue to use the address book for my business.

If you've been thinking about ordering from Erin Condren, I honestly can't say enough good about their products.  I am thrilled with what I've purchased and believe that it is worth every penny I spent.

Erin Condren has supplied me with a link for my readers (and You Tube subscribers) to receive $10.00 off their first purchase!!!  So now's the time, if you've been thinking of purchasing something from Erin Condren click here to receive $10.00 off your purchase!!!

Thank you for reading!  You can find my tutorials on You Tube by searching for Margaret Leuwen Quilting.