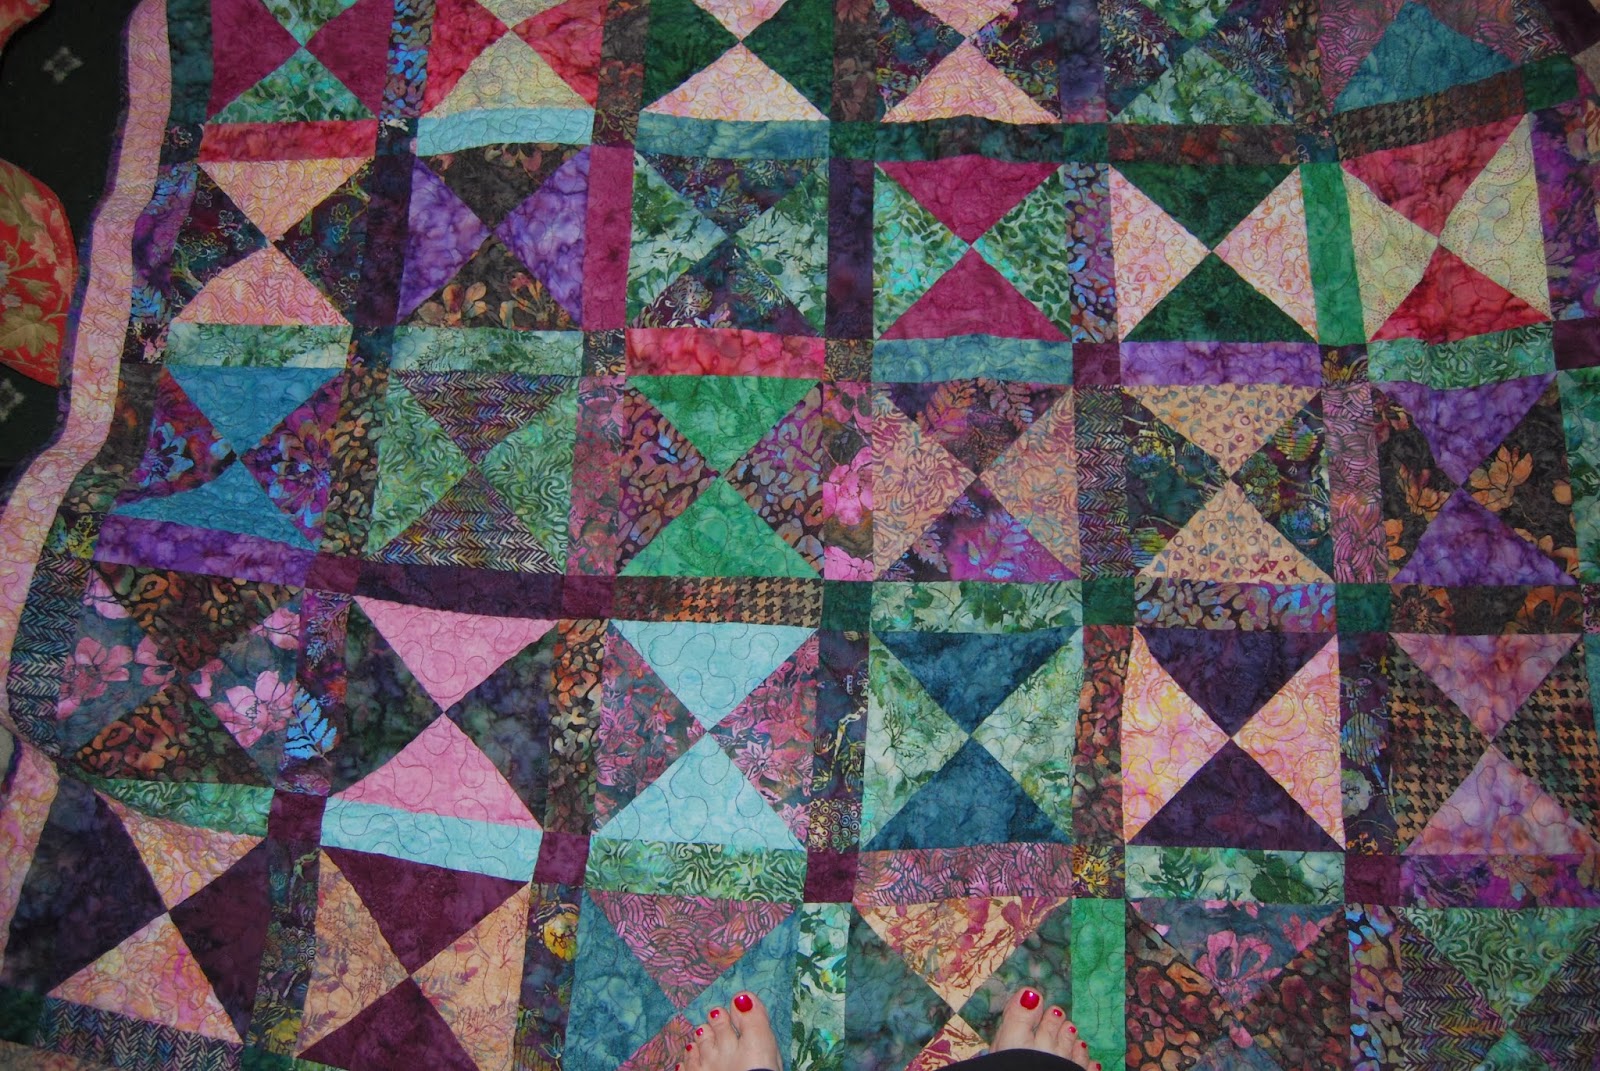
I've had a couple of requests on my YouTube channel to show the quilt I made when demonstrating how to make Perfect Points and how to Bind A Quilt.
This quilt was designed by Pam & Nicky Lintott and is in their book titled Layer Cake, Jelly Roll and Charm Quilts. The name of this pattern is Old Gold and is made from 1 Layer Cake and 1 Jelly Roll and finished at approximately 72 x 80. This book is filled with 18 different quilt patterns that are all made from Layer Cakes, Jelly Rolls and Charm Squares. At this point I've only made this one quilt but there are a few others in this book that I'd LOVE to make! The directions are easy to understand and this book is a great book for beginners!
You can see my Perfect Point Video here.
You can see my How to Bind a Quilt Video Part 1 here and Part 2 here.
You can see my How to Attach Borders Video here.
If you would like information on where this book is available for purchase please email me at missmarker@rochester.rr.com.
Thanks!
Happy Quilting!
Margaret
Thursday, January 2, 2014
Monday, December 23, 2013
My Daughter's First Quilt!
Our youngest daughter (youngest by 1 minute :)) unexpectedly came home for a week. God received another Angel this past Sunday when he took my Mother-In-Law home. Our daughter and grandchildren came home to be with us and while we are extremely saddened to have lost someone we love so dearly our spirits were lifted by the presence of our daughter, her 2 year old son and 6 month old daughter!
We had a full day today at home and we were productive! My daughter made her very first quilt!! One advantage of having a Long Arm in the house was I could take it into my long arm room and now it's all quilted! All I've got left to do is bind it and then it will be going home with them on Christmas day.
While the kids took a nap we got busy making Christmas cookies and after dinner the remainder of our grandchildren joined us to frost cookies!
I hope all of you are having a wonderful holiday season!
Merry Christmas!
Margaret
We had a full day today at home and we were productive! My daughter made her very first quilt!! One advantage of having a Long Arm in the house was I could take it into my long arm room and now it's all quilted! All I've got left to do is bind it and then it will be going home with them on Christmas day.
It was one of those quick and easy Jelly Roll Quilts! These are fantastic quilts when you need one fast and it's also a great quilt for new quilters because it helps then get the hang of quilting a 1/4" seam and how to sew a straight line!
I quilted it with Ducks and cattails!
While the kids took a nap we got busy making Christmas cookies and after dinner the remainder of our grandchildren joined us to frost cookies!
I hope all of you are having a wonderful holiday season!
Merry Christmas!
Margaret
Friday, December 13, 2013
Downton Abbey Block #4 - Castle Garden
Time to start sewing!
I like to lay everything out that I’m
sewing so that I can make certain I’m sewing it together correctly.
First step
was to sew the triangles on each side of the square. Once they are sewn square up your triangle using
the corner of the square as your guide to give you a ¼” seam allowance at the
point.
Next
attach your triangle to create a 6 ½” square.
Set these aside.
Next we
are going to make 4 flying geese units.
I start by
laying my next block sections out.
Attach the
outer triangles trimming each section as you go giving a ¼” beyond your
intersecting points.
Once those are
attached attach your next triangle.
Don’t forget to clip
the ‘rabbit ears’ and trim your blocks.
Square this up again
by using the your ‘points’ to create your ¼”.
In the above photo I used where the black met the cream background
fabric and the straight lines on my ruler.
I also used the
points on my triangles as a second reference mark when squaring up each step.
Attach your next
triangle
Attaching more
triangles!
This squares up to 6
½” x 12 ½”.
Next step is to make
your center block. Again I start by laying
it out.
Make your flying
geese first and then sew your center row.
The flying geese were
3 ½” x 6 ½”, once attached to the center block they were 12 ½” x 6 ½”.
I forgot to take
pictures of the top & bottom rows!
Those rows square up to 3 ½” x 12 ½”.
Sew your three rows
together.
Your finished block
is 24 ½” and you are only making one!!!
Check out Miss
Marker’s Quilts at:
My most recent tutorials
at www.youtube.com Miss Markers Quilts or
Margaret Leuwen
www.facebook.com Miss Marker’s Quilts
Happy Quilting!!
Monday, December 9, 2013
New Project Almost Done!
That's right, another project is almost done! This project is really special.... want to know why? First off because it's pink (I do love pink) but the absolute best part of this project is I get to offer it as a FREE pattern for everyone on January 1, 2014!
While everyone else has busy with the Holidays I've been busy sewing! I took a quick snap shot of the quilt before I pressed it to share it with you! Pink, purple, blue & gray they are so very pretty together! Can you see the little bunny rabbits?
The top is completed, next step is borders!
Borders - that's a subject very close to my heart and to my Long Arm! I have always been amazed that patterns rarely give good instruction on the proper way of attaching borders so that your quilt is stabilized and framed. I've had some requests to show the proper way to attach borders to a quilt. I figure this is the perfect quilt to use to demonstrate borders AND it will give you another sneak peak at it! So be watching for my Borders You Tube Video coming up before January 1st!
Happy Quilting!!
Would you like to receive an email when I post a new YouTube Video?
Would you like to receive an email when I update my Blog?
Friday, December 6, 2013
Downton Abbey Block #3 - Mary
Block # 3
Mary
Good news! This is a nice and easy block and it finishes
big, 18 ½”!
Cutting instructions:
A
– HST 6: cut 7 1/8” strip
Sub cut into 4 -
7 1/8” squares
Then sub cut those in half diagonally
B
– QST 6: Cut 7 ½” strip
Sub
cut into 2 - 7 ½” squares
Then
sub cut those in half diagonally both directions
C
– SQ 6: Cut 6 ½” strip
Sub
cut into 6 ½” squares
Time to sew!
I didn’t follow the directions
(sorry)! I started from the center and
worked my way out on the block. I was
trying to make certain I kept my points.
I like to take and press the pieces in
half and make a crease where the two pieces of fabric are going to be
joined. This makes the two pieces of fabric
kind of snuggle up against each other and it helps me in centering my
pieces! J
I’ve
creased the two pieces & snuggled them together, pinned them and now I’ll sew them.
Once I had
sewn these on I pressed the seams out and then continued sewing the other sides
on. (Yes, I made both blocks at the same
time!)
At this
point the block squared up to 8 5/8”. If
yours squares up a little larger or a little smaller that’s okay. What matters with this block is we want to
try to keep our points.
Now do
those steps all over again with the next row of material, this time you’ll
square up to right about the 12” mark.
I carefully laid all of my triangles out for these next pieces because I knew I would have an issue if the lines on the outside pieces weren’t going in the same direction.
Sew your triangles together! Careful though, you are working with a lot of bias seams!! Don't stretch! :)
Squaring
up at this point wasn’t complete squaring up but I got it as square as I
could. What I was trying to accomplish
was to make certain that I had a quarter of an inch from the point of the triangle
to the end for my seam allowance.
Next you
are going to attach this piece to your block.
I match my
two points up and pinned on both side to keep my points together. When pinning I starting at the center and
worked my way out. Sew opposite sides
first, press seams open then sew the other sides.
Square up
again, using your points as your reference to cut.
Add your
final triangles! Trim & you are done! This block is to finish at 18 ½”. One of mine finished at 18 ¼”, I’ve stuck a
pin in the center of that block so when I go to put the quilt together I know
that I’ve got to be careful to take this into consideration when sewing with it
again.
If you aren't already a part of the Downton Abbey Mystery Quilt Along please feel free to email me at missmarker@rochester.rr.com and I would be happy to add you to the mailing!!
If you have any questions or suggestions PLEASE feel free to either post a response or contact me!
Happy Quilting Everyone!
Wednesday, December 4, 2013
Attaching a Quilt to the Long Arm!
I've been busy over here getting quilts done for people for Christmas presents so I don't have a lot that I can share with you, we don't want to spoil surprises!
The next quilt in line happen to be a non-Christmas present quilt so I quickly did up a video showing how I go about attaching a quilt to the long arm! The video is a little long but if you stick around to the end you will get to see it all quilted!
Thanks for watching!!!
Happy Quilting!
Margaret
The next quilt in line happen to be a non-Christmas present quilt so I quickly did up a video showing how I go about attaching a quilt to the long arm! The video is a little long but if you stick around to the end you will get to see it all quilted!
Thanks for watching!!!
Happy Quilting!
Margaret
Monday, December 2, 2013
Shhh.... This is someone's Christmas Present!
Brenda sent me pictures of a quilt I quilted for her and I am busting a the seams to share them with you!!! Brenda and her husband have a cat that is deaf, the cat loves to lay on Brenda's quilts and loves to snuggle up to Brenda's sewing machine when Brenda is sewing! Here's a picture of Alice helping Brenda out!
Alice is beautiful!!!
The recipient of this quilt is a University of Wisconsin graduate!
I have a soft spot for binding done with stripped fabrics!
The border design is Alexis, the red striped border is quilted with a Lacing design and the edge to edge inner design is also Alexis, all quilting designs by Anne Bright. The thread used is King Tut Cherry Red.
Happy Quilting Everyone!!
Margaret
Subscribe to:
Posts (Atom)