I spent a little time in my sewing room today! YEA!! I had made a quilt for a baby shower
but wanted to be able to deliver it in a pillowcase so today was the day to get
the pillowcase done. I love making
these, they are so quick and easy!
Here’s what you need to make a single pillowcase:
Pillowcase Fabric Requirements
(Makes 1 pillowcase)
1/8 yard for piping
1/3 yard for band
7/8 yard for pillowcase body
Cutting Requirements
1 – 2” x 41” (I used a 2 ½” by width of fabric)
1 – 11” x 41” (I cut mine by WOF and then just cut off the
excess)
1 – 26” x 41” (WOF)
Or you can go to AllPeopleQuilt.com and visit the 1 Million
Pillowcase Challenge. They’ve got
a bunch of free patterns on there to make a pillowcase, I used pattern
#15. I also did not follow their
sewing instructions. Here’s how I
made them:

Cut your pieces of fabric to the correct size. I left all of my pieces the width of
the fabric and just cut the length down to the size I needed. I also had some 2 ½” strips left from
the quilt so instead of cutting that strip down or cutting a new one I used the
2 ½” strip. You can use all the
same fabrics or you can switch them up, the choice is yours!


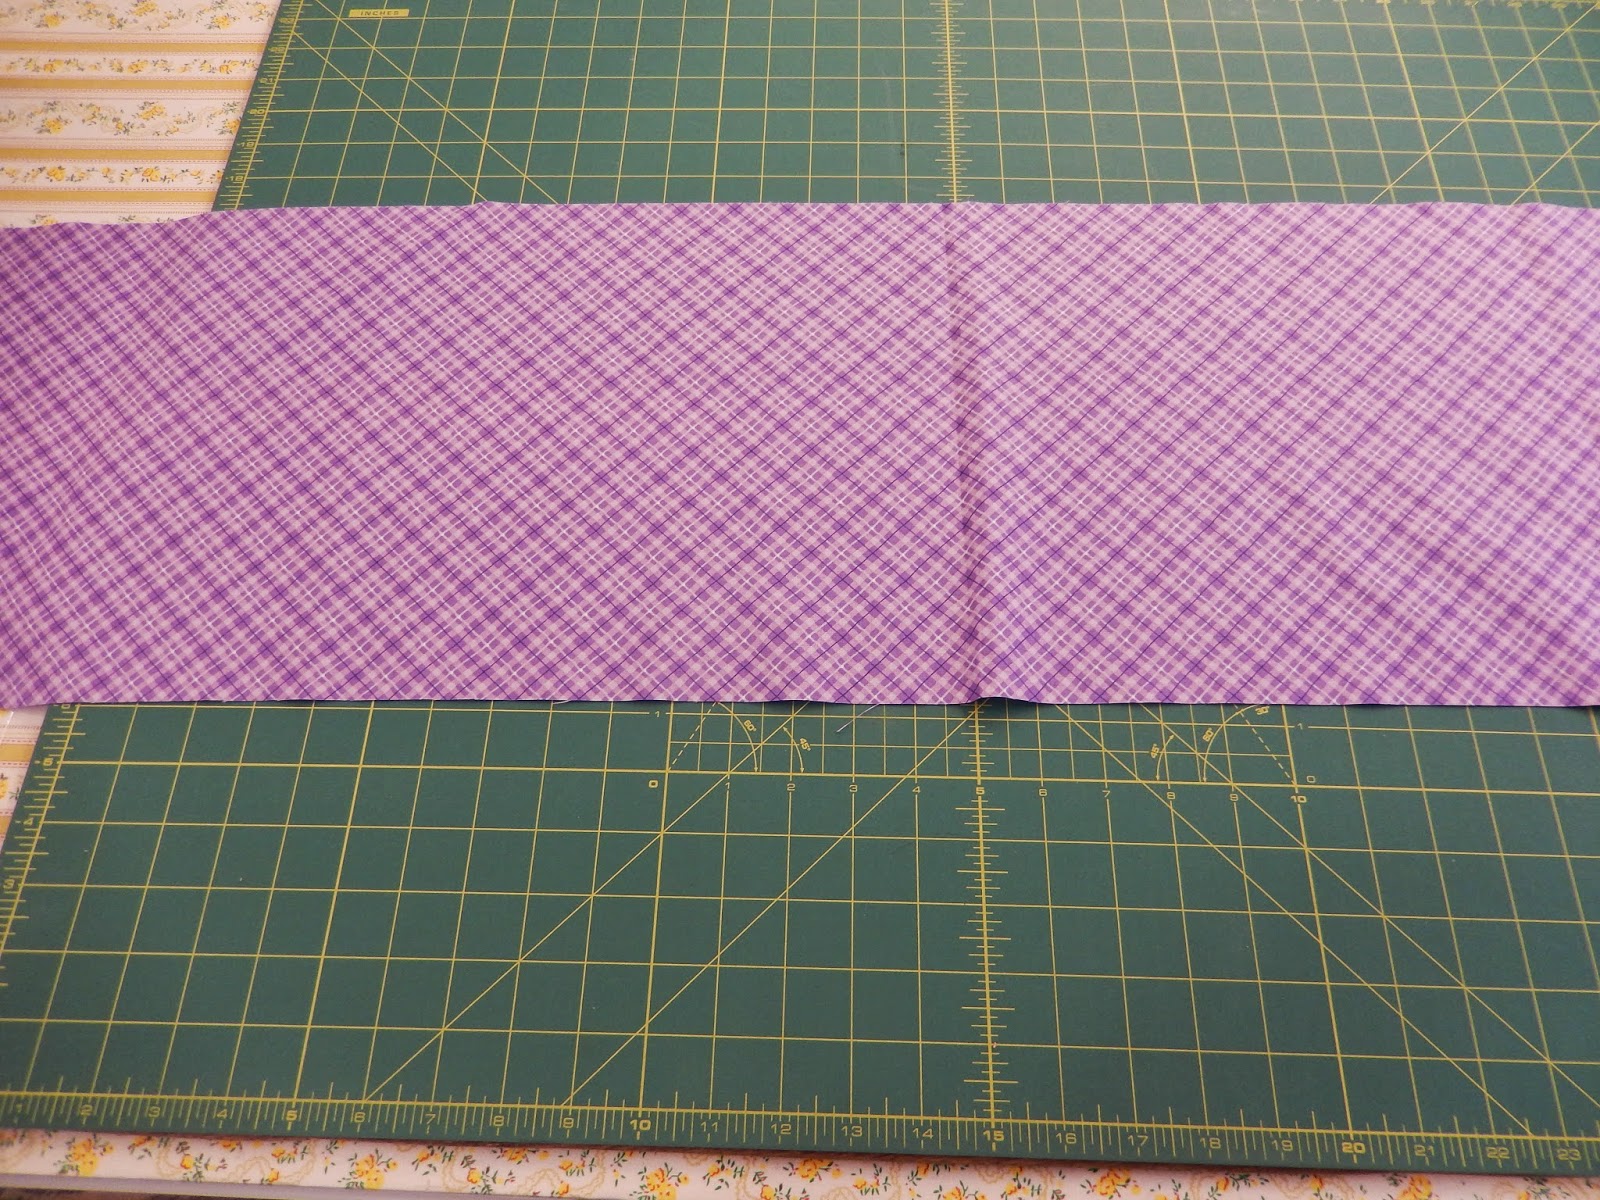
Once you’ve got all three pieces of your fabric cut take the
2 ½” strip and fold it in half wrong side together and press it.
Next take your piece of fabric that is 11” x WOF and lay
that face up on your table.


Next take your piece of fabric that is 26” x WOF and lay
that face up on top of the 11” piece lining up the raw edges.


Your final piece of fabric to place on top is your 2 ½”
strip that has been folded in half (remember wrong sides together just like you
are making binding) and place that on top of all the pieces. You may want to put some pins in
to hold all of these pieces together.

Pick up the bottom of your 26” piece of
fabric and roll it into itself.
Keep rolling it until you get almost all the way to the piping
strip. Once you’ve rolled the 26”
piece you can easily see your band piece of fabric.

Pick up the raw edge (at the bottom) and fold it up to meet
the top of your piping strip and pin.
Now take it to the sewing machine and sew a ¼” seam. So easy!

You’ve now got a tube that looks like this!

Reach into the sewn tube and start pulling the fabric out,
you’ve got a piece of fabric that has an attached band and piping but NO raw
seams!!!

Time to press! This
may be a step that you just don’t think is important but if you don’t press you
run the risk of your seams not matching or of your fabric having a twist in it
so take just a few minutes and press.

Next step (and one I always have to double check myself on)
fold your pillowcase in half, WRONG sides together. Yes, wrong, not right sides together. If you haven’t trimmed
your selvage now’s the time to do it, just double check and make certain that
you haven’t left a selvage before your proceed. Pin and sew down one side and across the bottom with a ¼”
seam.


Turn pillowcase wrong sides out, press and now sew ½” seam
down one side and across the bottom!

Turn pillowcase right side out and press one last time and
it’s done!

Fast and easy for sure! Next time you purchase fabric, a jelly roll or a layer cake
for a quilt don’t forget to grab a little extra fabric to make a pillowcase!
Happy Quilting!
No comments:
Post a Comment